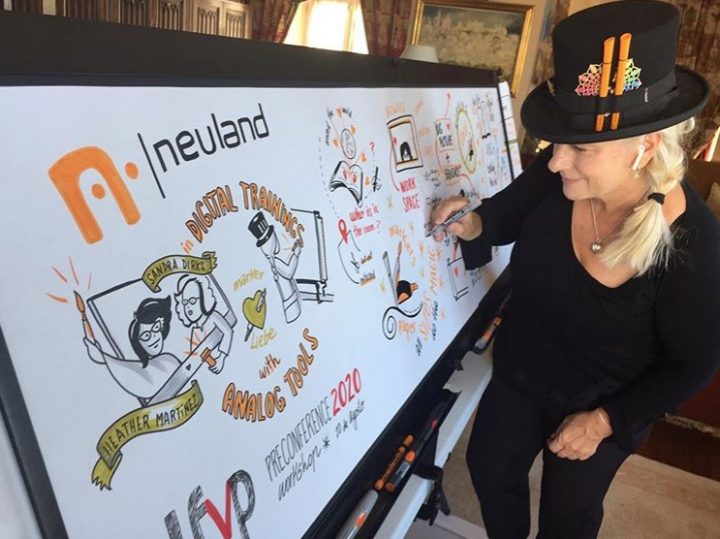
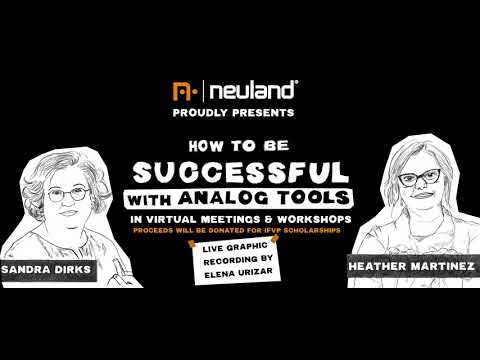
Although online trainings will never be able to replace in-person sessions, it’s a good addition to the world of workshops where analog tools shouldn’t be missing. But don’t underestimate this. You have to know what you’re doing. And this is where Neuland Ambassador® Heather Martinez and Neuland Toolmaster® Sandra Dirks come into play: They are experts in the field and know exactly what’s most important.
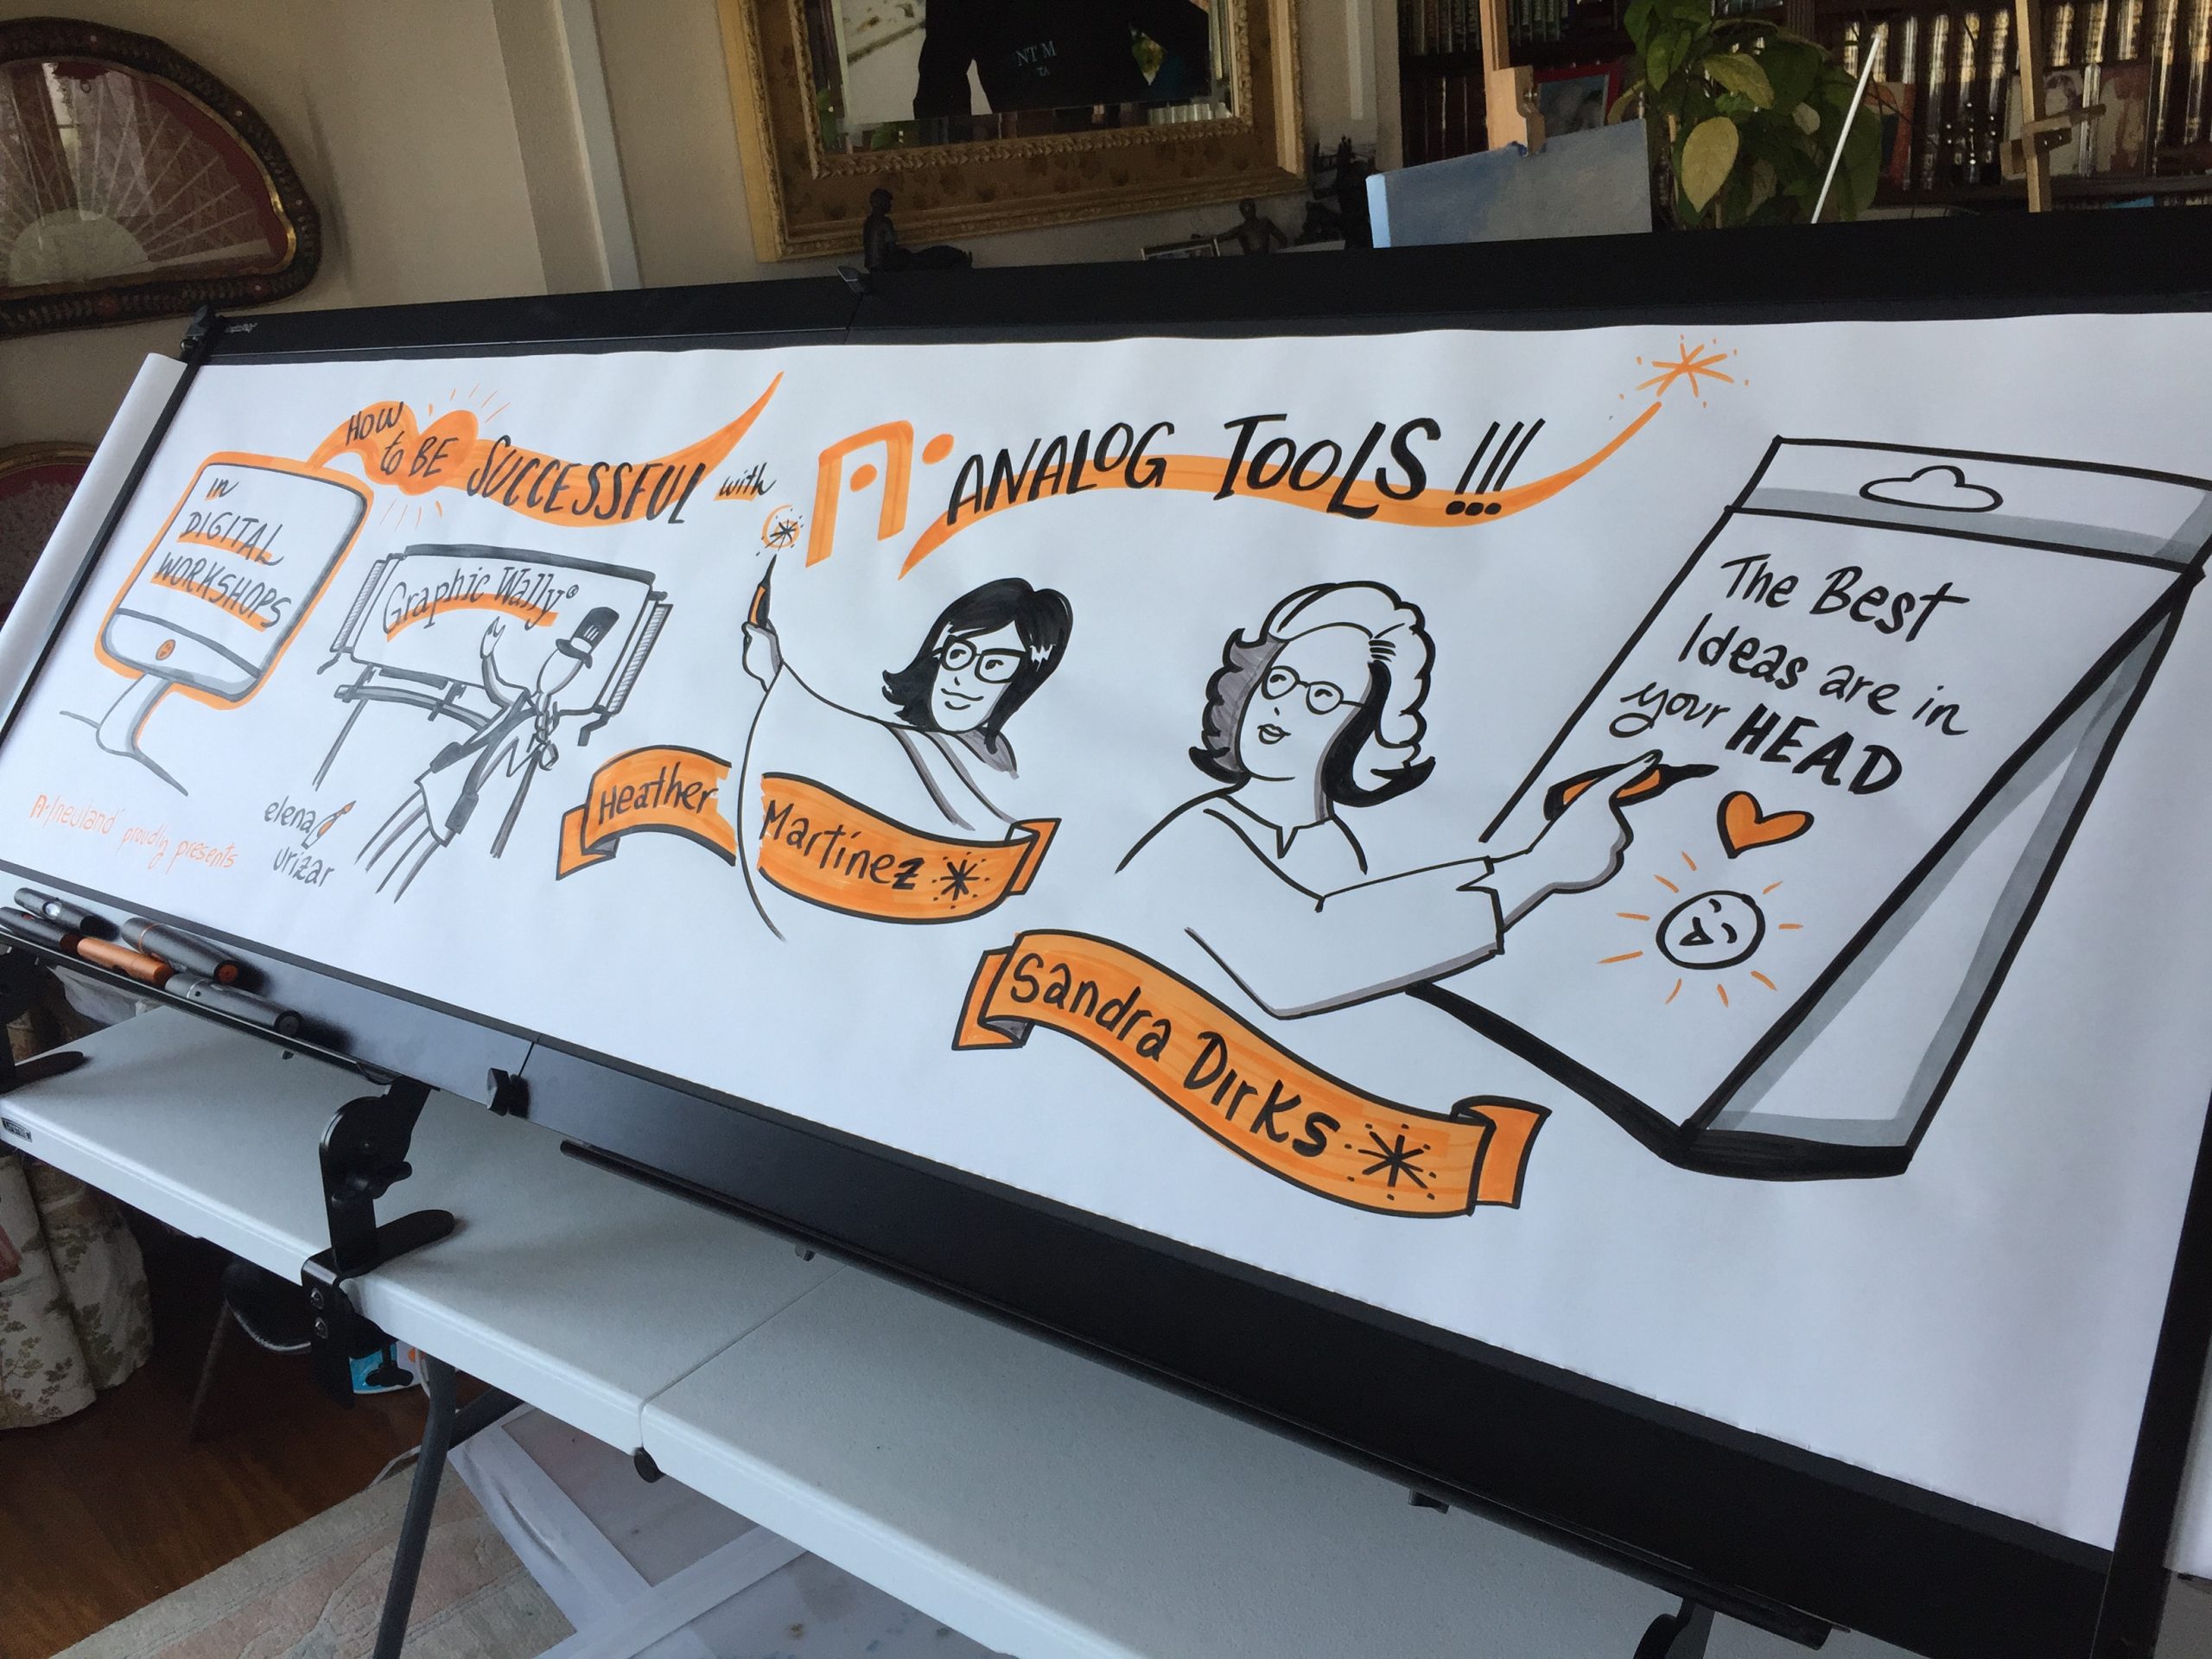
They teamed up to hold a pre-conference workshop on analog tools in the virtual world at this year’s IFVP – online of course. Being a long time sponsor, we supported their project and since the participants were so thrilled about it, we want to give you some tips and tricks for your next digital workshop. You missed the event? No problem at all: The recordings are available for purchase here – it’s worth it!
Which format do I like?
First thing to do is ask yourself what you want your analog tools to do for you. Do you want your participants to see you while you’re writing something? Then, products in medium format, such as the TableTop or TopChart, are a good solution. To make the workshop more interactive, add some InstaCards or Estatics, and that’s all you need.


The Estatics arrow shows which point of your agenda you’re working on right now. The InstaCards can be used as communication cards as well.
This doesn’t mean you can’t integrate small formats, too. I bet some of you prefer to work with a 4-2-sketch or BulletProof because you’re not writing on a FlipChart as often. You shouldn’t squeeze yourself into a new format and rather use the advantages of the tools you’re already using. For instance, you could tell a story by turning over one page after another with each page being another chapter. And maybe you’re still a rookie and wanna start with the things you already have at home. Of course, then the small format is ideal for you.

Working on small formats: the myClipBoard A3 and the myWorkBoard
If you’re a graphic recorder, the large format is probably the most interesting. And this, too, can be used for online workshops ’cause the GraphicWally® can be attached to nearly every table and still offers a lot of space for huge visualizations.
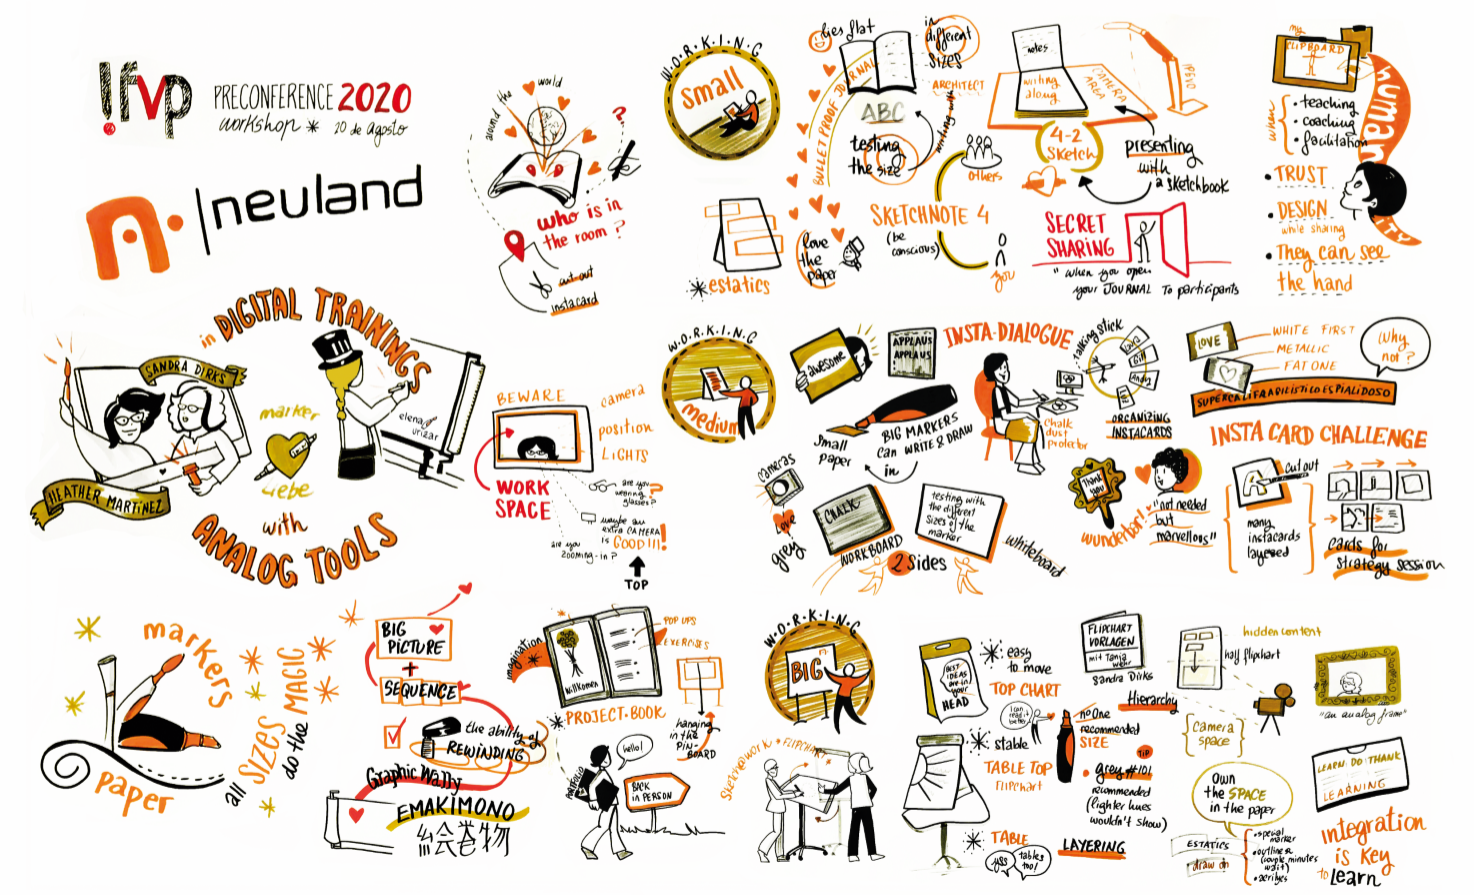
Graphic recording of the workshop by Neuland Ambassador® Elena Urizar
Which technological equipment do I need?
You’ve probably figured out by now why we asked you to choose the format first. Working on small formats usually means you should have an extra camera that will be placed above your sketchbook or clipboard. Heather and Sandra recommend a document camera.
For everything else you can theoretically use your integrated laptop cam. But please be aware that you need a high resolution for your participants to be able to read everything. And the camera’s best position is always parallel to your analog tool.
Cam view parallel to the FlipChart ProjectBook
Moreover, it’s important to take into account how the light settings change as the day progresses. Do you need an exra lamp or maybe even some curtains? Tip: A ring light might look fancy in the first place but it will show in your glasses if you’re a spectacle wearer.

Don’t hesitate to use fat markers: the 30 mm FatOne and the No.One Outliner with a wedge nib
What else do I need to know?
Don’t forget that your participants aren’t in the same room as you. They can’t come closer to your FlipChart when your writing is too small. So, remember to use big markers! Better write a bit too big than too small, and try to experiment with bigger markers on small formats as well, especially when you tend to write a bit more messy in a sketchbook. There’s no marker size that doesn’t work but you have to know how to use them to make it work.
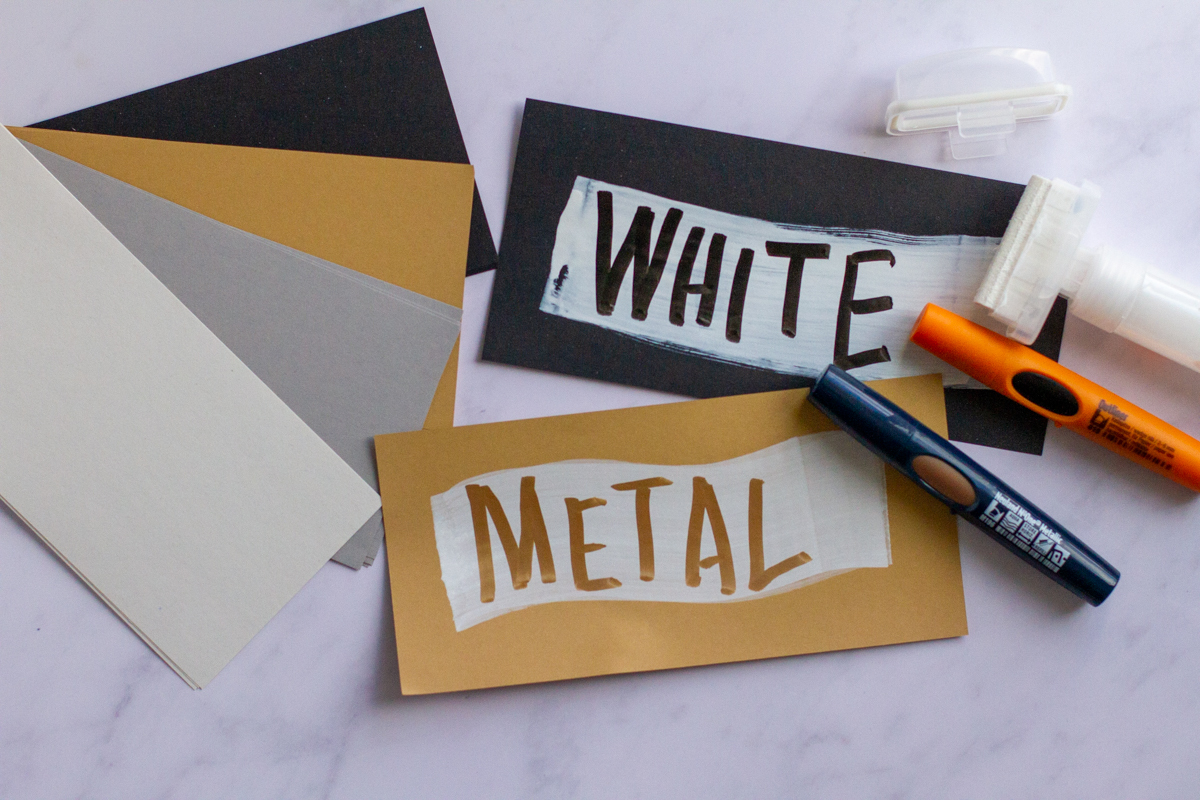
Cool effects with the 50 mm FatOne and the No.One Metallic
Promote interaction!
If your participants are spread across the globe, it’s very important to build a connection among them. With the software Visualizer you can stage an introduction of participants to get to know each other by asking something like “Where are you dialing in from?”. When you’ve prepared a map beforehand to attach it to the myClipBoard, they can mark where they are. This will make them feel closer to the others.
Tell a story!
Sometimes, the simplest method is the most effective. You don’t have much space or equipment? Why don’t you prepare the content of your workshop in a 4-2-sketch to let a story unfold? And you can keep adding words and sketches while telling it.

There are two more advantages of this method: Your participants can see the steps you’re taking, which makes it easier to follow. Moreover, they get the feeling you’re sharing something very special with them and give them insights to your work.
Get inspired!
We know this is a lot to process but compared to the actual workshop this was just the tip of the iceberg. But you don’t have to wait until the next workshop takes place. When you want to get more ideas for the process, exercices, or tips from Heather and Sandra, you can simply order the video here. The only thing we want to add right now:
You won’t regret it!